Drain and Flush the Black and Gray Water Tanks
Before retiring your rig for the year, head to the dump station and drain your gray and black water tanks. Any water left inside could cause them to freeze and crack. This is also a good time to give them a thorough wash and flush to prevent any residue from solidifying. From time to time you may need a portable holding tank to drain your RV’s tanks. The Camco Rhino Portable Tank is a great one to consider having around when you need one.
Drain Your Hot Water Heater
You’ll first need to turn off your water heater a few hours before this step to allow the water to cool. Now, find the heater’s drain plug and loosen it with a hand wrench, then open the pressure relief valve to allow complete drainage. After the water drains, turn on the water heater bypass valve to avoid filling it with antifreeze.
Drain the Fresh Tank and Low Point Drains
Next up, find the freshwater drain valve and the low point drains and open them. They are usually located on the underside of your RV near the steps or axles. Allow the water to drain for a minimum of 15 minutes. You also need to open all hot and cold faucets, including indoor and the outside shower, and flush the toilet. Now run your water pump for at least 30 seconds to remove any remaining water. Finally, close all faucets and plug the drains. A camper winterizing kit can really make this process a simple one.
Consider Using Antifreeze in Your Drain Lines
Once you’re confident there is no more water to drain from your system, you should consider pouring a little RV antifreeze in your drains. Be sure to get all the sink drains, shower drains, and toilets. This will help make sure that any water that may be in your p-traps will not freeze and bust a pipe.
You’ve now winterized your RV’s plumbing system. It’s time to focus on other equally sensitive areas.

Disconnect Your Batteries
Another key step in every RV winterizing checklist is protecting the batteries. Remove all batteries from your RV and place them in a warm, dry area on wooden blocks. Never set a battery on concrete. Preferably, hook them up on a trickle charge all winter to avoid permanent damage. Also, remove batteries from your remote, alarms, radios, and clocks.
Pest Proof Your Rig
Search for cracks and gaps throughout your unit where pests can wiggle their way in, then cover those openings. That includes areas around the windows, doors, vents, fans, AC, antennas, wiring, and exhaust pipes. Make sure you also remove all foodstuffs and hygiene products from your rig.
Protect the Exterior of Your RV
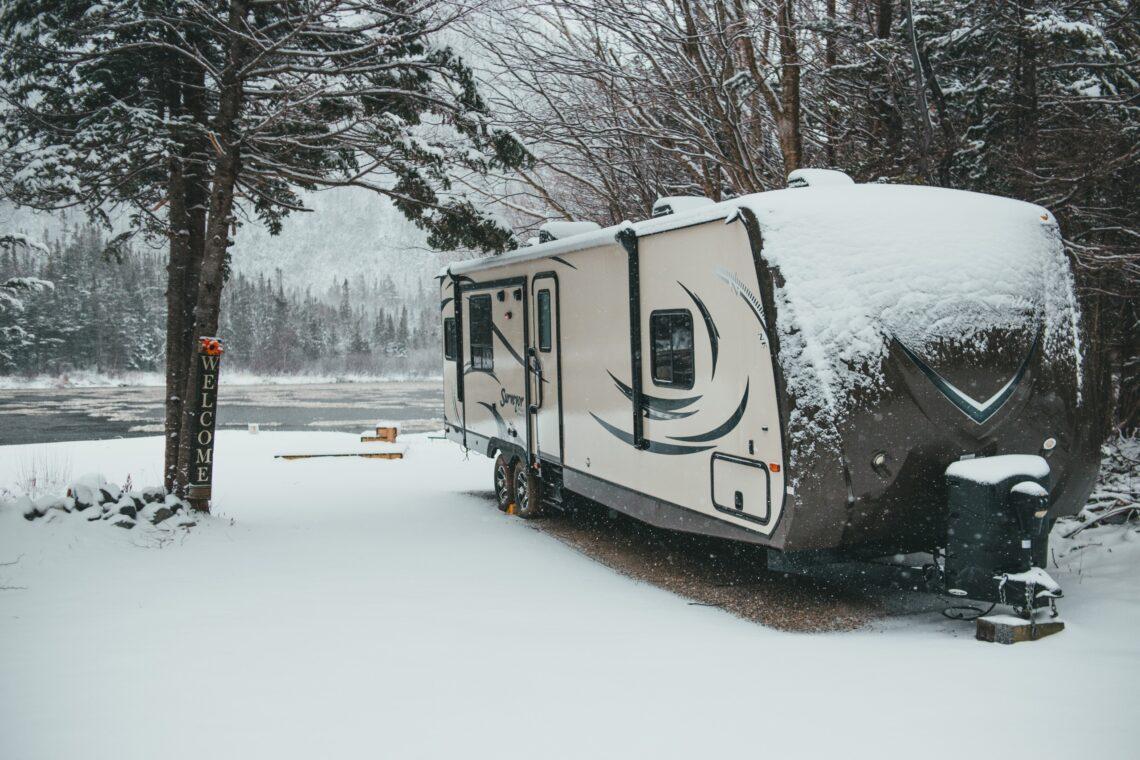
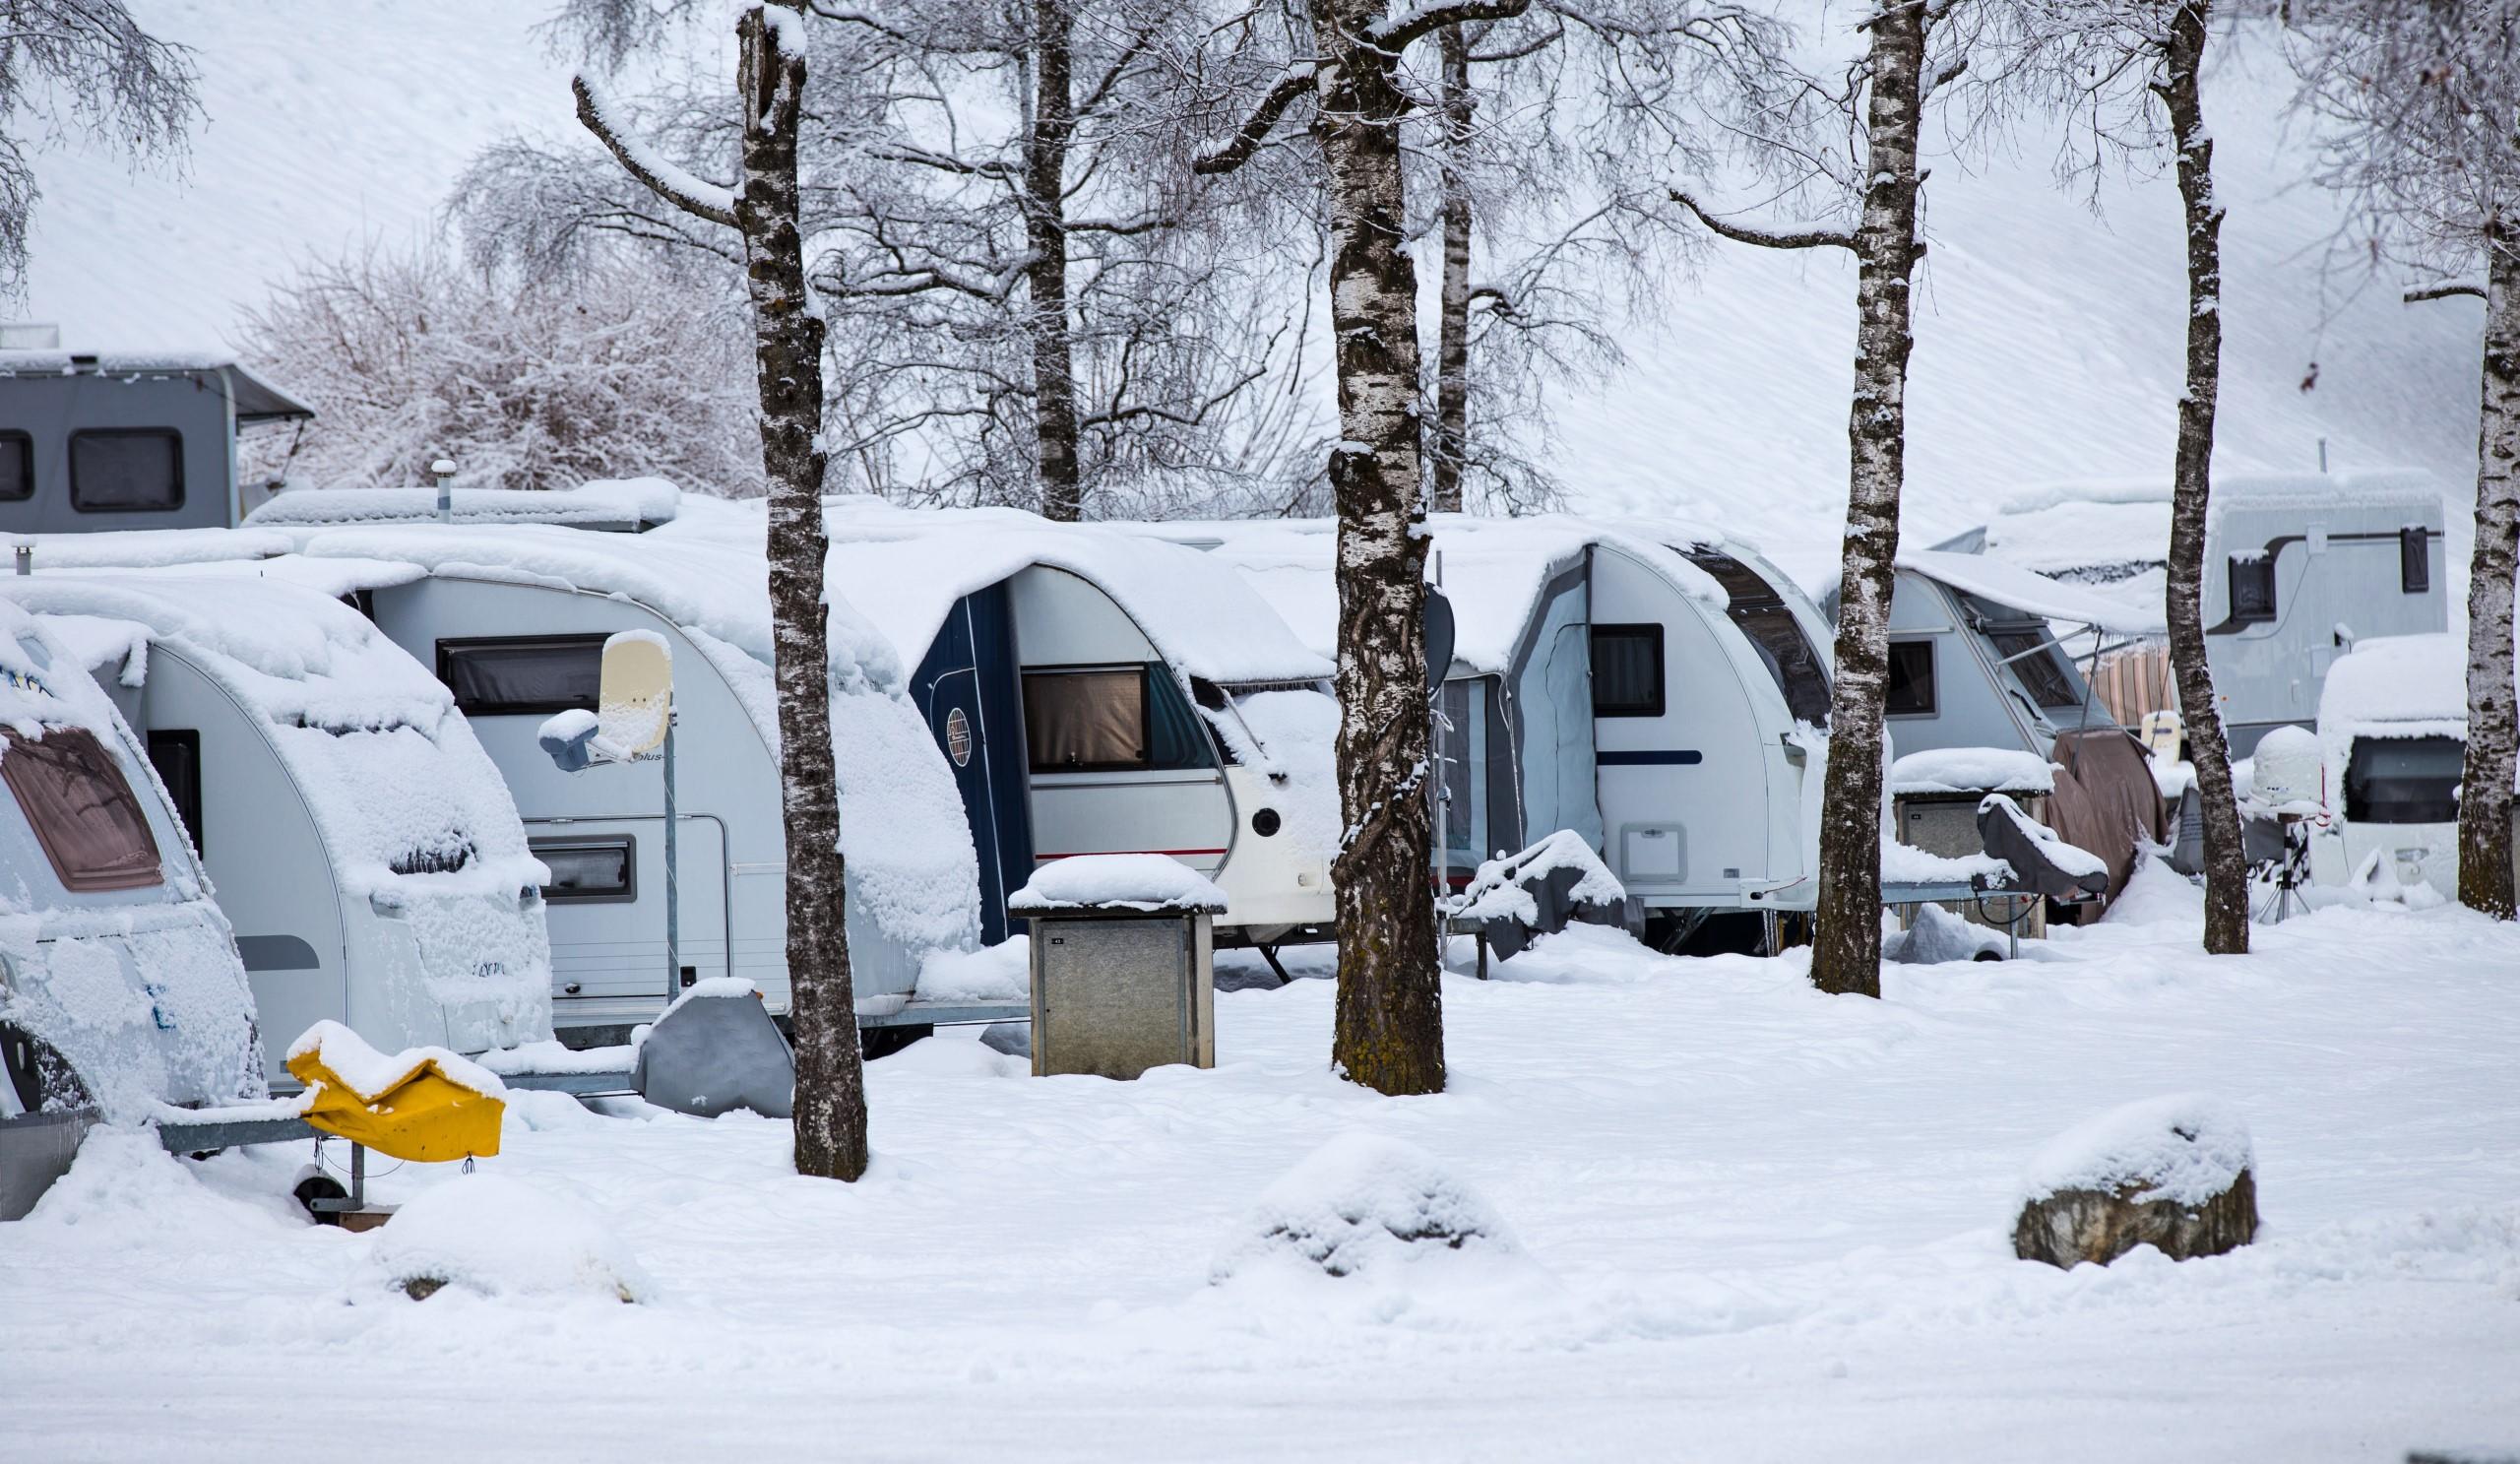
The final camper winterization step is to take care of the exterior. Inflate the tires and use jacks to raise them completely off the ground to prevent flat spots. Next, get an RV-specific cover to protect the rig from the elements, UV damage, and unexpected leaks. If your owner’s manual doesn’t recommend using a full-body cover, such as in Airstream RVs, you’ll only need to cover the tires.
With this RV winterizing process, your camper will be ready to brace the harsh weather. And if you’re unsure of any step, always consult your user manual.


